 English
 русский
 Français
 Español
 عربى
عربىWhat Is the Correct Way to Adjust MDF PVC Door Frames?
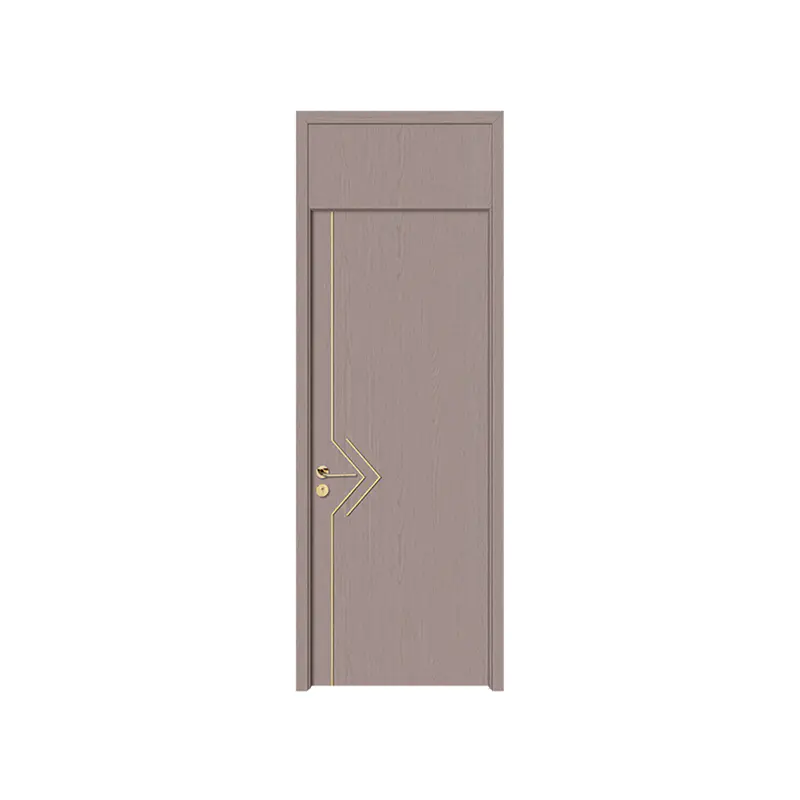
A door that closes cleanly on the day of installation can begin showing problems within weeks — not because the product is defective, but because installation tolerances, building movement, and environmental conditions interact in ways that gradually shift what was initially straight. For contractors verifying completed work, distributors fielding installation complaints, and project managers signing off on fit-outs, understanding how to assess and correct door frame alignment after installation is a practical necessity. MDF PVC Doors are widely used across residential and commercial projects precisely because of their dimensional stability and surface durability, but even well-manufactured products require correct framing, proper shimming, and post-installation checks to perform as intended over time.
Why Door Frame Problems Develop After Installation
The Gap Between Installation Day and Long-Term Performance
Installation conditions rarely stay static. Buildings settle. Moisture levels shift between seasons. Concrete slabs cure and move slightly. The foam or mortar used to anchor a door frame can compress unevenly under load. Any of these factors — individually or in combination — can introduce a degree of misalignment that was simply not present when the installer finished and packed up.
This is not a unique problem to any one door material. But the behavior of an MDF core under fluctuating humidity conditions, and the way PVC surface wrapping responds to temperature variation, means that understanding what is happening structurally helps distinguish a problem that requires adjustment from one that requires replacement.
What MDF Core Movement Actually Looks Like
Medium density fiberboard is an engineered material, and its moisture absorption behavior is different from solid timber. It does not warp dramatically in the way that poorly dried solid wood can. What it does do — particularly in environments with significant humidity variation, such as bathrooms or unconditioned storage areas — is absorb moisture gradually at exposed edges, which can cause slight dimensional changes at the margins of the door slab.
When this happens, the door slab expands slightly in width or height, and the previously adequate gap between door edge and frame closes. The result is a door that suddenly binds or drags where it previously moved freely. This is not a manufacturing failure. It is a material behavior that installation design should anticipate — and that post-installation adjustment can usually resolve.
Conducting a Systematic Alignment Inspection
Start with the Frame Before Touching the Door
A common mistake in post-installation troubleshooting is to start adjusting hinges or planing the door edge without confirming that the frame itself is correctly positioned. If the frame is out of plumb or out of square, hinge adjustment will compensate only partially — and often introduces new problems while masking the original one.
The inspection sequence should move from the frame outward to the door slab:
- Plumb check: place a spirit level against the hinge jamb vertically. The jamb should be plumb — no lean in either direction. Repeat on the latch jamb.
- Square check: measure diagonally across the frame opening from corner to corner in both directions. Equal measurements confirm the frame is square. Unequal measurements indicate racking.
- Level check: place a level across the head jamb. It should be horizontal.
- Reveal consistency: examine the gap between the door slab edge and the frame on all four sides. Consistent gap width indicates the door slab is positioned correctly within the frame. Varying gap width indicates either frame distortion or hinge-related sag.
Any frame that fails the plumb or square check needs to be addressed at the frame level before hinge adjustment or door trimming will produce a lasting result.
Reading the Gap Pattern to Identify the Problem
The distribution of gaps around a door slab tells a diagnostic story. Each gap pattern points toward a specific cause, which in turn points toward a specific correction.
| Gap Pattern | Likely Cause | Correction Direction |
|---|---|---|
| Wider at top of latch side, narrower at bottom | Door sag from hinge wear or loose screws | Tighten hinge screws, check hinge alignment |
| Wider at bottom of latch side, narrower at top | Frame racking or hinge jamb leaning | Check frame plumb, re-shim if necessary |
| Consistent narrow gap on latch side throughout | Door slab expansion or frame shrinkage | Check humidity, plane edge or adjust strike |
| Rubbing at floor on closing arc | Bottom edge too low or floor has risen | Check hinge adjustment, assess floor flatness |
| Uneven head gap | Frame head not level or slab out of square | Re-level frame head, check slab dimensions |
Reading the gap pattern before picking up any tools prevents the common frustration of adjusting the wrong element and finding the problem unchanged or moved rather than resolved.
Hinge Adjustment: The Adjustment That Resolves Many Issues
Why Hinges Are Usually the Starting Point
The majority of post-installation door alignment issues trace back to the hinges — either their initial positioning, the condition of the fasteners holding them, or the interaction between hinge leaf and mortise depth. This is not because hinges are poorly designed. It is because hinges bear the full weight of the door slab across a relatively small fixing area, and any looseness or misalignment at that fixing point translates directly into visible gap variation.
Tightening loose screws is the adjustment that resolves the largest number of door sag complaints. When screws in the hinge leaves — particularly the leaf fixed to the door slab — have worked loose, the door hangs slightly lower on the latch side than intended. The gap at the top latch corner opens and the bottom latch corner closes or binds against the frame. Re-tightening to full engagement frequently restores correct alignment without any other intervention.
If the screw holes have stripped and will not hold, remove the screws, pack the holes with hardwood dowel or epoxy filler, allow to cure fully, and re-drive the screws into the repaired holes. This is more reliable than switching to larger screws, which can split the material around the mortise.
Adjusting Hinge Depth with Shims
When a door consistently pulls away from the frame on the hinge side — visible as a diagonal gap that opens at the hinge jamb — the hinge mortises may be cut too deep. The hinge leaf sits below the surface of the jamb or door edge, and the door is drawn inward rather than lying flush against the stop.
The correction is straightforward: remove the hinge, place a thin cardboard or metal shim in the mortise, and reinstall. The shim brings the hinge leaf closer to flush with the surface, which moves the door outward relative to the stop. Start with a single shim and test before adding more — over-shimming creates the opposite problem.
When the door binds against the frame on the hinge side — the hinge jamb is too close — the mortise is too shallow or the hinge is sitting proud of the surface. In this case, the mortise needs to be deepened slightly with a chisel, or the hinge leaf needs to be recessed more carefully.
Frame Adjustment for Structural Misalignment
When the Frame Itself Needs Correction
Hinge adjustment addresses problems caused by the door slab's relationship to the hinges. It cannot fix a frame that is genuinely out of plumb, racked, or insufficiently anchored. If the frame inspection reveals these conditions, the adjustment has to happen at the frame level — which typically means accessing the shimming behind the jambs.
Shimming correction procedure:
- Identify which jamb is out of plumb and in which direction
- Remove the interior casing trim on the affected jamb to access the gap between jamb and rough opening
- Locate the existing shims — typically at hinge height and latch height
- Add or remove shim material to move the jamb into plumb
- Confirm with the spirit level as you adjust — small changes at the shim translate to visible movement at the door gap
- Once correct, re-anchor the jamb through the shim material and replace the casing
For frames anchored with expanding foam rather than shims, the process is more involved because cured foam does not compress or release. In these cases, partial re-installation of the affected jamb is sometimes the only reliable path to correct plumb.
Foam Expansion as a Hidden Cause of Frame Shift
Expanding polyurethane foam is widely used to seal the gap between door frame and rough opening. Applied correctly in moderate quantity, it provides a stable, insulating fill. Applied excessively, it continues to expand after the frame is anchored — and the pressure of that expansion pushes the jamb inward, creating a bowed or off-plumb condition that appears over the days and weeks following installation.
This is a common installation error, particularly with crews less experienced with foam behavior in confined spaces. The diagnosis is visible on inspection: the jamb bows slightly inward in the middle, while the top and bottom remain correctly positioned. Correction requires cutting the foam from behind — which means removing the casing — and re-establishing the jamb in its correct position before re-anchoring.
Moisture and Humidity Considerations for MDF Doors for Bathroom Applications
How Humid Environments Create Specific Alignment Challenges
Bathrooms present a distinct alignment maintenance challenge because the humidity cycle — elevated during shower use, lower between uses — creates repeated dimensional cycling in any wood-based material that is not fully sealed. MDF Doors for Bathroom installation require sealing on all four edges, not just the faces, to limit moisture ingress into the core. When edge sealing is incomplete or has degraded, the bottom edge and latch-side edge are the areas likely to absorb moisture and expand.
Signs that moisture is the underlying cause of alignment change:
- The problem changes with seasons or weather patterns — worse in humid months, better in dry ones
- The gap variation is consistent with the location of unsealed or damaged edges
- The door surface shows signs of edge swelling, finish cracking, or veneer lifting near the floor or latch edge
For PVC MDF Door products, the PVC surface wrapping provides a significant degree of moisture protection on the face surfaces. The vulnerability remains at cut edges and any point where the PVC has lifted or been damaged. Regular inspection of edge condition in bathroom installations is a straightforward maintenance measure that extends alignment stability considerably.
Ventilation as an Alignment Preservation Strategy
Beyond the door itself, the ventilation quality of a bathroom affects how much moisture the door frame, jambs, and surrounding wall structure absorb over time. A bathroom with inadequate exhaust ventilation subjects every material in the space — including door components — to sustained elevated humidity after each shower use.
For contractors specifying or installing Wholesale MDF Door products in bathroom applications, recommending adequate extract ventilation as part of the installation package is not just good practice for the bathroom environment generally — it directly reduces the frequency of door alignment complaints over the life of the installation.
Special Considerations for MDF Fire Door Installations
Clearance Tolerances Are Not Adjustable by Preference
Fire-rated door installations carry clearance requirements that are determined by the certification standard, not by aesthetic preference or installer judgment. The gap between door slab and frame in a fire door installation is specified because it affects both the compression of the intumescent seal and the door's ability to close and latch under fire conditions.
Adjusting a fire door installation to achieve a visually pleasing gap without reference to the certification requirements risks compromising the fire performance of the assembly. The gap tolerances in fire door installations are tighter than those in standard door installations — and the consequences of misalignment are more significant.
Post-installation checks on MDF Fire Door installations should include:
- Verification that the intumescent seal around the frame is intact and uncompressed in the closed position
- Confirmation that the door closes and latches under its own weight without manual assistance
- Check that the gap is within the certified tolerance on all four sides
- Inspection of the threshold seal or bottom seal for correct contact with the floor surface
Any alignment adjustment on a fire door installation should be documented, and where significant re-shimming or re-hanging is required, confirmation that the adjusted installation still meets the certification requirements is a reasonable precaution.
MDF Door Vs Solid Core: Which Is More Prone to Post-Installation Drift?
Understanding the Stability Difference
The MDF Door Vs Solid Core comparison matters for post-installation alignment because the two materials behave differently under the same environmental conditions.
Solid core doors — those with a dense inner construction of engineered wood composite or solid blocking — are heavier than MDF-cored products. Greater weight means more load on hinges, which means hinge-related sag is a more frequent issue over time. However, solid core constructions are often more dimensionally stable in the face of humidity variation because the core material is denser and less permeable than standard MDF.
MDF-cored doors are lighter, which reduces hinge load and associated sag risk. Their vulnerability is at exposed edges, where moisture absorption can cause localized swelling. A door with fully sealed edges — as with a PVC MDF Door, where the surface wrapping extends to cover the cut edges — has significantly better moisture resistance than an MDF door with an unsealed or paint-only edge treatment.
For alignment stability in variable humidity environments:
- PVC MDF Door: good moisture resistance, lower hinge load, edge sealing is critical
- Standard MDF door: adequate in dry environments, edge sealing essential in any space with humidity variation
- Solid core door: denser and heavier, better humidity resistance, higher hinge load over time
Neither category is inherently more prone to alignment drift under all conditions. The relevant factor is matching the door specification to the environment, and ensuring that the installation details — edge sealing, hinge sizing, frame anchoring — are appropriate for where the door will actually be used.
Maintenance Practices That Preserve Alignment Over Time
What Regular Checks Should Cover
Post-installation alignment maintenance does not require specialist tools or significant time. A periodic walkthrough — checking door operation, inspecting hinge screws, examining edge condition — identifies developing problems before they reach the point of requiring structural intervention.
Practical maintenance steps on a periodic basis:
- Test door operation: open and close each door fully, noting any binding, dragging, or change in the feel of the latch engagement
- Inspect hinge screws: check for any looseness at both the door-side and frame-side hinge leaves
- Examine edge condition: look at bottom edge, latch edge, and hinge edge for signs of moisture damage, finish failure, or swelling
- Check gap consistency: a visual check of the gap distribution around the slab indicates whether any drift has occurred since the last inspection
- Inspect seals on fire doors: confirm intumescent seals are intact and threshold seals maintain contact
A maintenance record for door installations in commercial settings — particularly for Custom MDF Doors in high-traffic areas or fire-rated positions — provides useful reference if a complaint or warranty claim arises later.
Closing Thoughts
Door frame alignment after installation is a discipline that sits at the intersection of installation quality, material behavior, and environmental management. For contractors and installers working with MDF PVC Doors across residential fit-outs, hospitality projects, or commercial builds, the ability to systematically diagnose gap variation, hinge drift, and frame movement — and to apply the appropriate correction at the right level — distinguishes installations that hold up from those that generate callbacks. The tools and techniques involved are accessible. What makes the difference is applying them in the correct sequence, starting with the frame rather than the hardware, and distinguishing between problems that require physical adjustment and those driven by environmental conditions that need to be managed at source. For distributors and procurement teams sourcing Custom MDF Doors, Wholesale MDF Door stock, or fire-rated and bathroom-specific configurations, understanding these post-installation dynamics informs both product selection and the installation guidance provided to end users. Zhejiang Kings Home Decor Co., Ltd. produces a range of MDF PVC door products — including PVC MDF Door options for moisture-sensitive environments, MDF Fire Door configurations to certification standards, and Custom MDF Doors for project-specific dimensions — and can provide technical support resources for distributors and contractors managing installation quality at scale.
Interested in cooperation or have questions?
![]() +86-13857003056
+86-13857003056
![]() No. 27 Lianhuashan Avenue, Jiangshan Economic Development, Jiangshan, Quzhou, Zhejiang, China
No. 27 Lianhuashan Avenue, Jiangshan Economic Development, Jiangshan, Quzhou, Zhejiang, China
Copyright © Zhejiang Kings Home Decor Co., Ltd. All Rights Reserved.

Interior Wood Door Manufacturer